Sunday 16 February 2014

Part 3 Stage 4

Researching source material


It was sheer chance that I went to Extracts & Creativity by Helen Platt Hawkins at the gallery at Rufford Mill.  Many of the photos fitted in with the Reveal and Conceal theme really well.  

Photographer Helen Platt Hawkins was commissioned by the Arts service to create a collection of photographs portraying aspects of creativity. 

Over a period of three months she documented the activities at the Craft Centre, creating a portfolio of inspiration which are exhibited for the first time in this show.

Also on show were works from her ‘Extracts’ series. From architecture to nature, this body of works does not seek to represent external, recognisable reality but to present the shapes, forms, textures and colours that exist within them.

I haven't found any of the images exhibited online but I have found some work that shows similar things.  It's a style I like very much. It's complex, with many layers. There's always something new to see.


HPH 1
A different perspective

HPH 2
A good lesson in design


HPH 3
So much like my grids


HPH 4
Shadows and shapes

It's clear that the light and perspective make an enormous difference to how things look and it's something that intrigues me.


Window light - Jane Wright

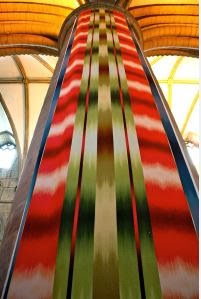
Some time ago, I think it was in Malaga Cathedral, I saw the huge pillars come alive with the colours as the sun shone through the stained glass windows. By the time I had got my camera out it had passed.  Recently I found a triptych taken in Lincoln Cathedral by Jane Wright and just had to buy it because it offered the same magic.

The above photo shows the light  shining through the stained glass windows at Lincoln Cathedral.  I'm reminded of the ephemeral nature of the organza I've loved using - if the light changes so does the effect.  The image isn't quite symmetrical but my eye tries hard to make it so.

Jane Wright has a lot to offer "Reveal and Conceal".  Her web site is lovely.

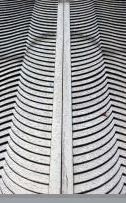
Jane's work has the same sort of perspective as that of Ptolemy Mann in her digital print which was hung the length of a pillar at Gloucester Cathedral in 2012.  Although it is not dependent on the light in the same way as before it would inevitably react and alter as the light changes.

Digital print hanging the length of the pillars at Gloucester Cathedral in 2012
Ptolemy Mann
http://annagravelle.wordpress.com/2012/12/02/227/


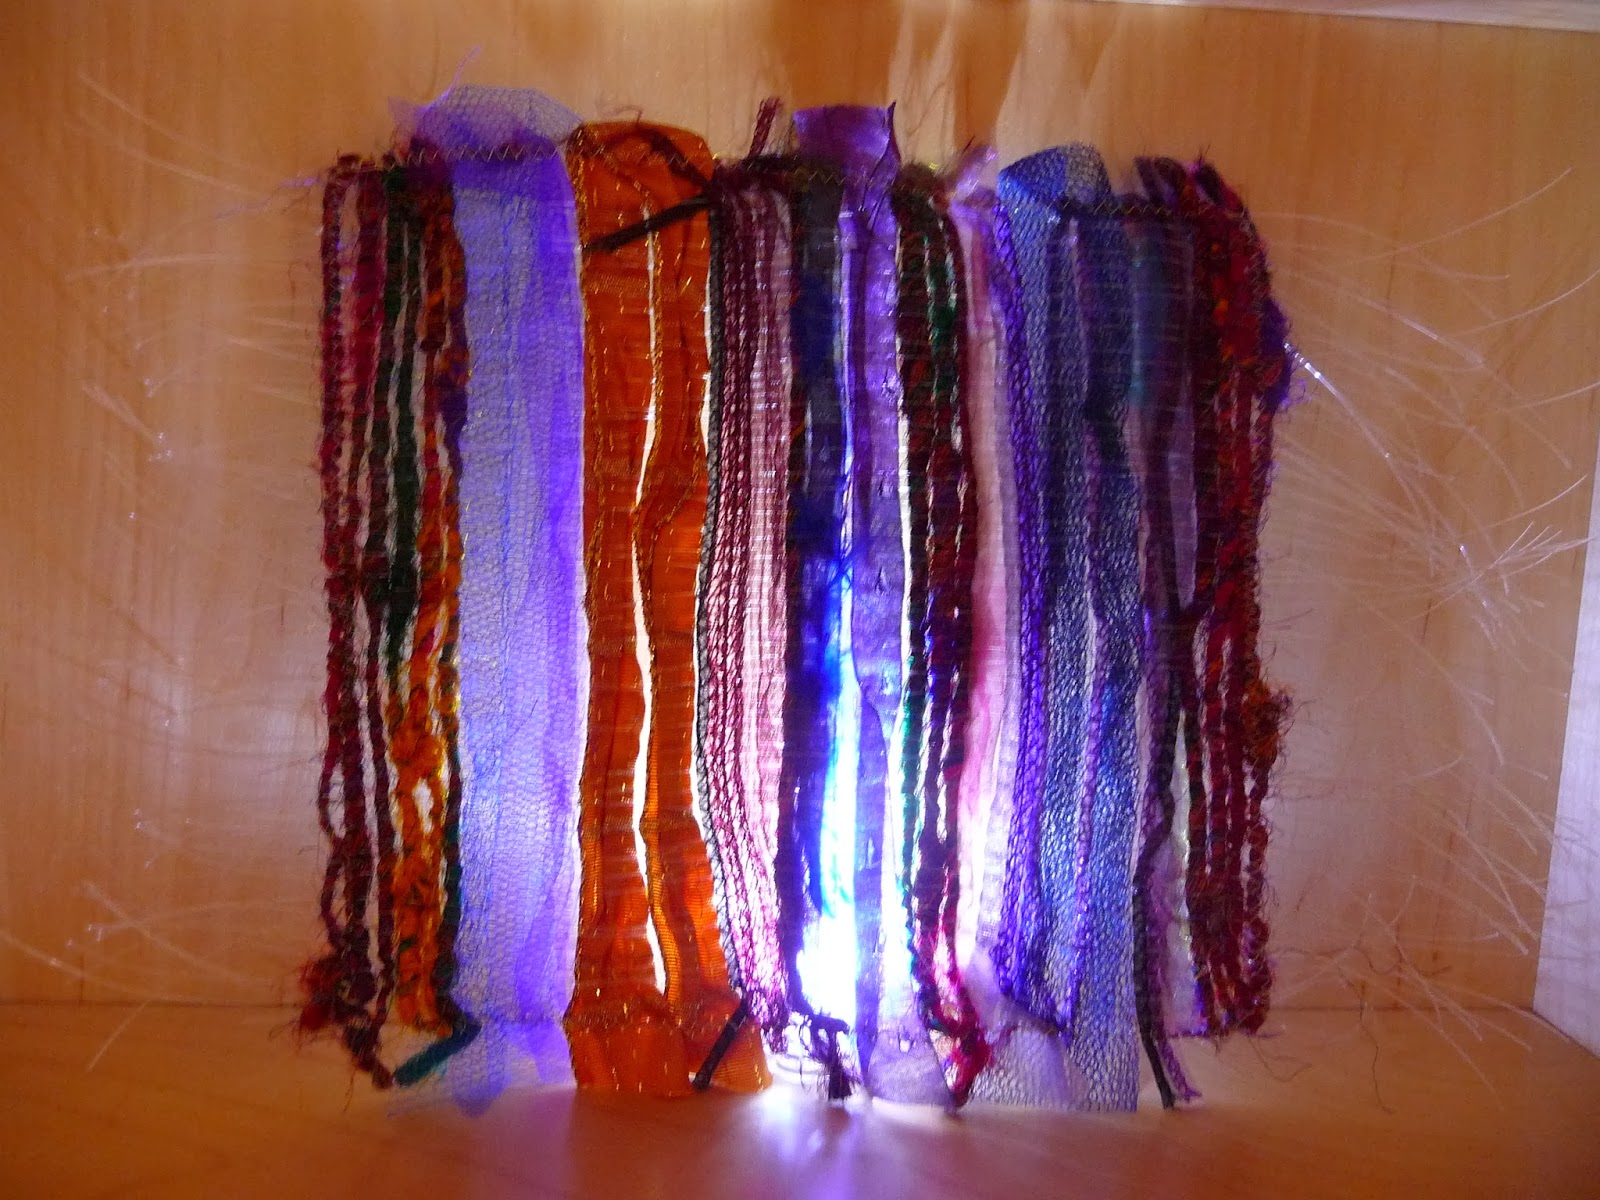
Frosty spiders web
My photo

When I was looking at these images I was reminded of this frost laden spiders web which was as delicate as the pillars are solid.  It is only this visible because of the frost that highlights the structure and makes beautiful shapes.

This shape is also very similar in perspective and it creates optical effects:
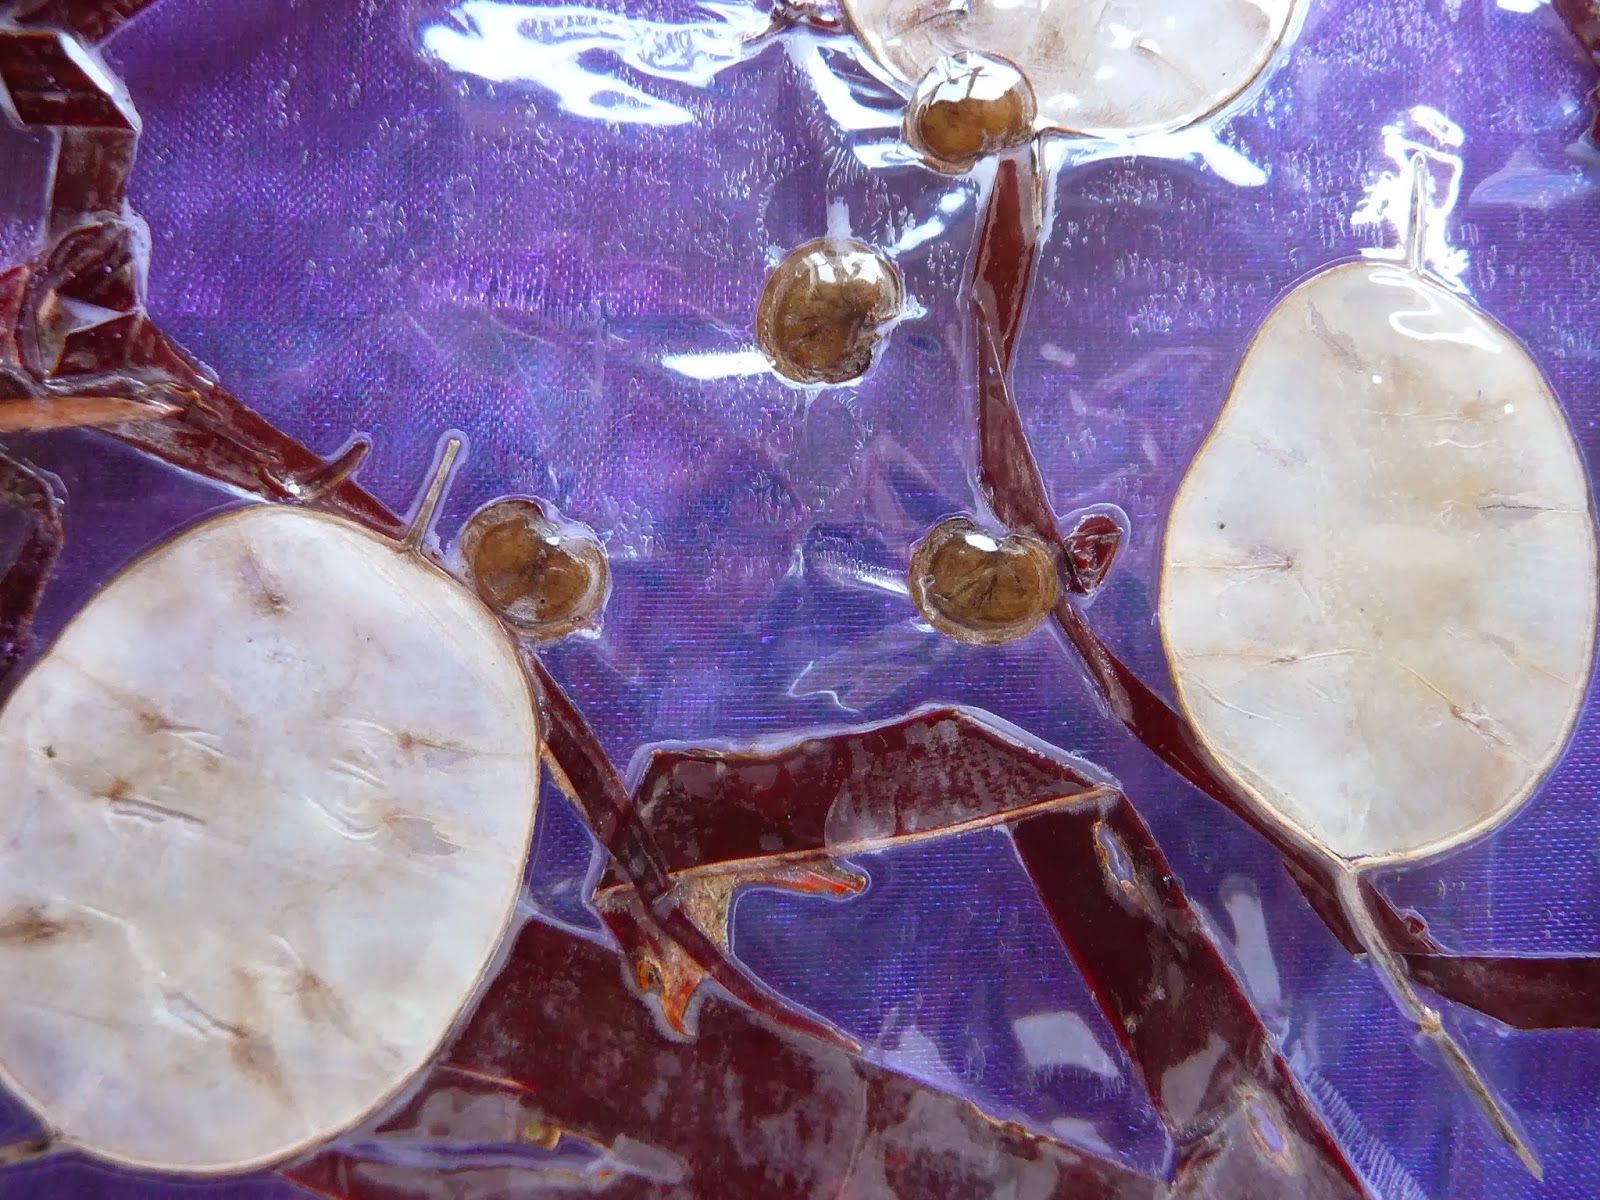
Helen Platt Hawkins


I find I'm building an archive of images to draw on and I quite like the idea that I can mix my own work in with that of other, more expert people.


http://www.janewrightphotography.com/photo_10769648.html#photos_id=10769648
http://www.helenplatthawkins.co.uk/gallery_495127.html#

Part 3 Stage 3

Reviewing materials and processes

In this stage I'm going to try to push some of my samples a bit further and see what they can do.  I've used light and shape as I've been working on Stage 2 but I plan to revisit it with a bit more purpose now.


Knitted white cotton with silver thread and purple wire twisted into shapes and lit from inside.


With sari silk finger knitting

Lit from the side with a torch it throws some shadows


Knitting that includes some wire has great possibilities for things like lampshades and lit sculptural forms. It's easily shaped even with my very light wire.  I guess thicker gauge wire could help the process but use too thick and it would make change more difficult. This could be stitched into as well or tied with strips of fabric.

Out of curiosity I tried French knitting using this yarn then threaded it with green organza:


I lit it from below but diffused the light with a tissue.


It looks like it could be used in an animation of the Very Hungry Caterpillar and I'm not quite sure what it's use might be to me but I'll know it when it arrives!

Next I worked with the hefty but holey net.  I threaded it with organza  I liked the idea of trying hefty with flimsy.


The picture above shows the work rolled up with a bright light inside it.  The purple is very dominant.

(Somehow I've now got some gremlins in this work so I can't add captions without deleting the picture)


This one is against the window and there's a feel of stained glass about it.  The yarn is a real barrier to the light which only serves to emphasise the holes where the light comes through and the organza.

I love sari silk but I feel that my sari silk finger knitting has not done itself justice so I put some wire through it and persuaded it to pose.  It has a feeling of exotica, sultriness and extravagance:


This has a torch shining on it.  Whilst I like this it's hard to see how I might use it.  I have seen a sculpture made from finger knitting which has itself been finger knitted several times.  It is from"Layered Textiles" by Kim Thittichai.


Next I tried light on and in my grey marl knitted net.  It looked more like wire than ever and I was also reminded of fishing nets in the quay.  The picture below is of the work with light shining on it.


This spiders web is the same piece with the light inside. .


I know the knitting is ordered and I'm amazed that it looks so chaotic presented in this way. It might be a good idea to try knitting with the same yarn and including some wire so I can sculpt the shapes.


One of my favourite pieces of work recently is my weaving.  I did two very different pieces; one pale and one quite dark colours.  I wrapped the pale piece around an opaque vase and put a light inside.  The opaque glass diffused the light beautifully.  Fairy lights inside the vase might push the diffusion a bit more.


I lit the darker weaving from the back and it came to life.  The spaces between the yarns are small but the light makes shapes that are otherwise insignificant. The piece is quite exciting and vivacious and I imagine it would make a good lampshade in a lounge.  It's not big enough to try the opaque vase idea but something to keep in mind.


Now I'm going to take my laminated sheets and put colour behind them.  First there's the fruit nets.  I nearly threw his away because I didn't rate it at all. 


They all had purple organza behind them and I just love them.  I use Paint net and these are reminiscent of the "tile" effect I sometimes use.  There's a big lesson here in hanging onto the most unlikely work because I feel there's a lot of work I could develop from this.  I'm imagining grids, layers and light in a variety of media.  

I used the purple background again on some of the other laminates.  Whilst it hid the "reveal" side of things it was very instructive from the point of view of highlighting different things like the filaments on the feathers and the translucency of the honesty:


It's been fun looking at my samples again especially using light.  I am very taken with how organza behaves and I thought I'd just try just one more sample.  I cut pale pink organza into strips and knitted 15 stitches in garter stitch on 12mm needles.


It reminds me of a hat my Mum had donkeys years ago, frivolous and frothy with no apparent use!


Fortunately Mum's hat didn't light up!  The shapes revealed were intricate and convoluted and reminded me of smocking.  It would be interesting to try this material single chain crocheted and used for weaving or as a base for stitching into and burying items in the convolutions.


I've found organza hard to photograph; I only seem to be able to get a hint of the reality. However, the shadows and distortions give their own new ideas for further work.

I find myself tumbling over possibilities.


Thittichai. K, 2011.  Layered Textiles.  Batsford, London

Friday 14 February 2014

Part 3 Stage 2 Workshop 6

Manipulating fabric

I've had a very bad week one way and another and I've done very little work and not attended to my blog at all.

However, this is what I did.

I started with a pile of organza. I love the way it layers.

I wanted to evoke some moods with my layers.

Because the weather has been so foul I wanted to try to get a bit of summer.  I fused together some organza ribbon and made some little pockets that contained things that reminded me of the sea and summer:

Summer???

It did nothing for me at all so I took out the bits and bobs and had a re-think.  In A Creative Approach I had stitched some calico into shapes.  Clearly organza would stitch very differently but I decided to experiment.


Pleats anchored with running stitches


I tacked pleats into the organza strip with my soldering kit but it wasn't good enough so I used a cross stitch to anchor the pleats.  I then anchored them again at intervals with a running stitch.

The rippled effect made by pulling the pleats the opposite way.


Next I anchored the pleats again but forced them the other way.  This made a rippled effect.

This looked very different from my calico sample.

My calico sample

I drew my organza sample into a circle:


Then lit it from inside:


It looked quite lovely.


I turned the piece over

The reverse of the work


and did the same thing again with a very different result:

The reverse side lit from inside

I was surprised by how much light was absorbed by the organza.


Next  I wanted to create "midnight" and I layered purples, a dark red, pinks and a pale blue. 

Not quite midnight.

 It became very clear that I needed a darker blue but I couldn't get one locally.  Events then overtook me and I haven't revisited it since.

I started this workshop with high hopes but I feel I need to move on and try to get myself back into work mode with something fresh.


Thursday 6 February 2014

Part 3 Stage 2 Workshop 5

Using a laminator

I wanted to see what would happen if I put wax crayon shavings in a laminating sheet and melted them together.


Wax crayons put through a sharpener

I sprinkled the wax bits onto my laminating sheet....


... and put it through the laminator making feather like images


I was concerned because the wax looked like it might have seeped out of the bottom of the work. I tried again but put less wax in and put it at the top of the plastic sheet.


The result was less attractive and it was clear that the roller was getting very messy.


I put four sheets of paper through the laminator before I was happy the roller was clean.

Cleaning the rollers

I don't know whether I'll be trying this again - the laminator is only on loan to me.

I keep all my bits from stitching in a container and I've found it very useful for doing work that has inclusions.  I decided to sprinkle some of these bits into a laminating sheet and just see how it turned out.

There are lots of bits in here, not all visible because they are see through

In total this is not particularly beautiful  but there are bits that might inspire future work.

A scrap of sari silk that has possibilities

I went on to use plant material, fabric and feathers.

Honesty with some seeds, wire and some organza

Honesty again, with strands of prunus serrula bark

Feathers

Less successful was my attempt to use fruit nets.  I chose to use nets because I thought I'd be able to get an all over effect.

The plastic sleeve got stuck.  The whole thing curled up

The nets got zapped and disintegrated


I tried again, this time with more success:


I found the flatter the things I used the better they worked.  I think there are specialist laminators for craft work but mine is just an ordinary one so that explains it.

I'm not sure this is something I want to pursue in its own right but I can see it might present shapes and patterns for development.